A small stash of these simple Japanese-style crepes in the fridge gives me a head start on the week. They're essentially thin, unfussy omelets with endless possibilities. My 9-year-old grabs rolled-up "egg pancakes" for a quick protein boost on busy school days. I use them to wrap salad or leftovers, instantly upgrading my lunch. They're an easy breakfast on hectic mornings. Shred them to top stir-fries or stir into rice. You can even use them to wrap sushi rolls, or cut out shapes with cookie cutters.
And just like flour-based crepes, you can go sweet or savory. Try maple syrup and perhaps a bit of mirin for sweet crepes, and enjoy plain or with a bit of fruit spread. For savory crepes, ease off on the sweet stuff and add soy sauce. They're a gluten-free, low-carb, and high-protein alternative to flour-based crepes and wraps.
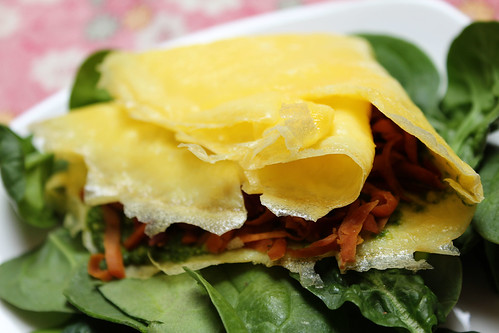
My perfect lunch is pictured at the top: an egg crepe spread with pesto and stuffed with shredded carrots (stir-fried with ginger and garlic).
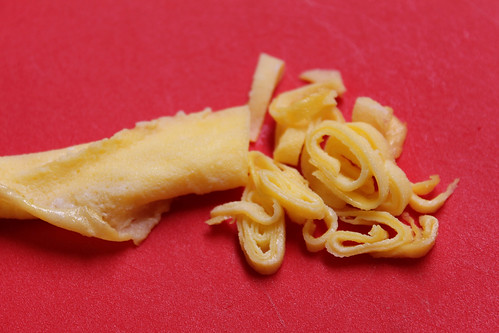
Use a very nonstick skillet for these, and be sure to oil the pan between crepes. I mangle at least one every time — I use that one as a shredded crepe. The cornstarch is optional, but it helps make a more durable crepe to use as a wrap.
Egg crepes
Scale this recipe up or down as you wish. This recipe should yield four or five crepes.
3 eggs
1 tablespoon sugar or maple syrup
pinch of salt
1 1/2 teaspoons of soy sauce or mirin (optional — soy sauce is good for a savory crepe, mirin for a sweeter one)
1 1/2 teaspoons cornstarch blended with 1 1/2 tablespoons water (optional — for a stronger crepe, suitable for wrapping)
1 tablespoon sugar or maple syrup
pinch of salt
1 1/2 teaspoons of soy sauce or mirin (optional — soy sauce is good for a savory crepe, mirin for a sweeter one)
1 1/2 teaspoons cornstarch blended with 1 1/2 tablespoons water (optional — for a stronger crepe, suitable for wrapping)
In a bowl, stir together eggs, sugar, salt, and soy sauce or mirin, if using, with a fork. Don't use a whisk or egg beater — you don't want these to be frothy. Stir in cornstarch mixture, if using. Pour egg mixture through a fine sieve into a bowl.
 Heat a small, nonstick skillet over medium-low heat. (You may need to experiment with the right temperature: Low heat works best with one of my skillets, and medium is better with the other.) Oil skillet well. Pour in just enough of the egg mixture to cover the bottom, swirling to cover bottom of pan. Cook until set, 1 to 2 to minutes, then use a spatula to loosen the sides and carefully flip over. Cook another 30 seconds or so, then remove. Continue to cook omelets, stacking them when done. Clean any burnt bits out of the pan between crepes and oil well.
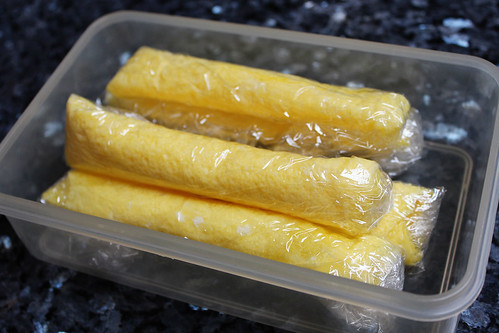
Eat plain or fill and enjoy. Or roll up each crepe in plastic wrap and refrigerate for up to five days. The crepes can also be frozen — defrost in the refrigerator.


